Make 3-Inch Pin Buttons Fast: Kit + 500 Parts + Cutter
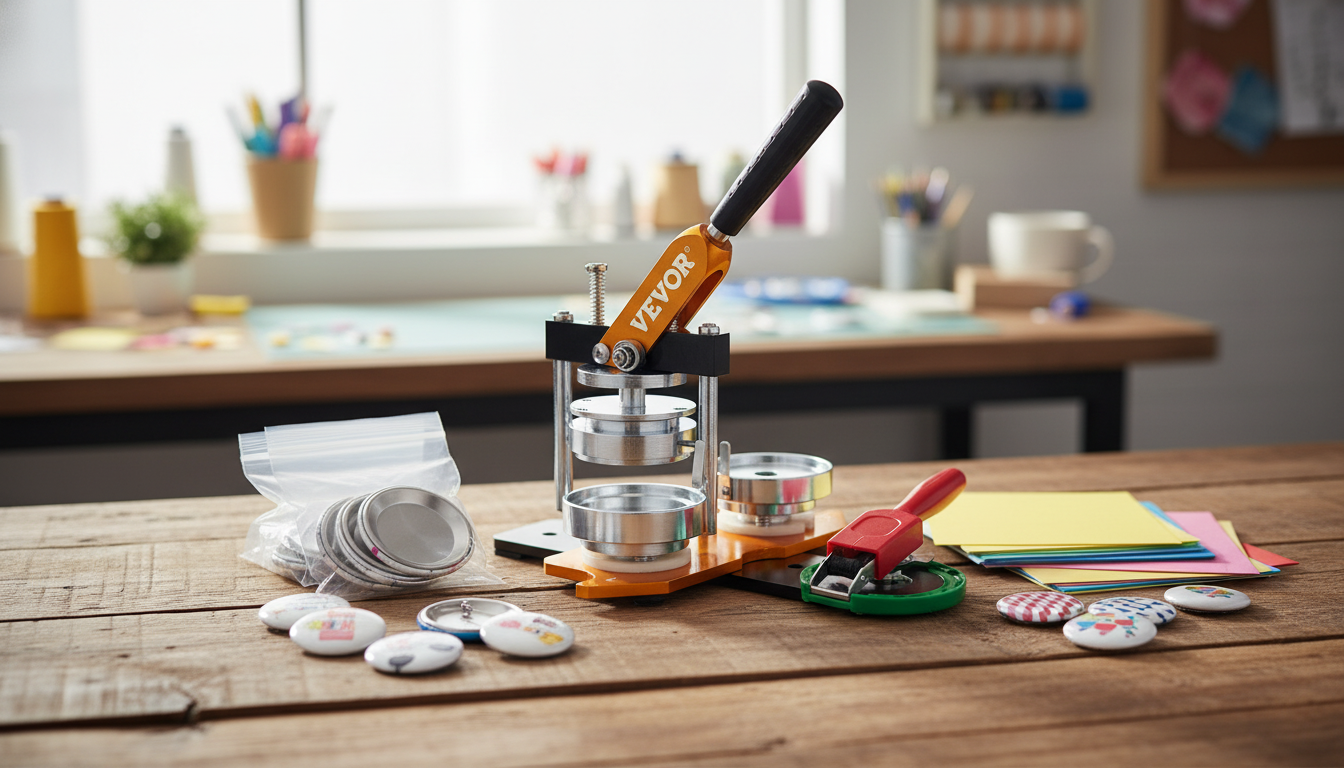
3-Inch Button Maker Kit with 500 Parts & Circle Cutter
A 3-inch button maker kit turns artwork, photos, and short messages into durable pin-back buttons that look polished enough for giveaways, fundraisers, and small-batch merch. With a larger face size, designs stay readable from a few feet away—ideal for names, roles, school spirit graphics, and photo-forward layouts. This kit combines a 3-inch press, 500 button parts, and a circle cutter so you can move faster during prep while keeping circle sizing consistent for smoother crimps.
What this kit is built for
- Create 3-inch pin-back buttons for fundraisers, school spirit days, employee recognition, and pop-up sales.
- Produce consistent, repeatable results when making batches (team orders, campaign handouts, conference giveaways).
- Reduce prep time by cutting accurate circles that match the die size.
- Support creative use cases like art prints, photo buttons, QR-code buttons, and name badges.
Kit overview at a glance
Three-inch buttons offer extra “canvas space,” which helps when you want large type, bold icons, or photo details that won’t get lost on smaller sizes. Pairing the press with a circle cutter also helps standardize your workflow—especially when multiple people are helping in a classroom or club setting.
Included components
| Component | What it does | Quantity / notes |
|---|---|---|
| 3-inch button maker (press) | Forms the button by crimping layers together in the die set | 1 press |
| Button parts set | Supplies the metal/plastic layers used to assemble finished pin-back buttons | 500 parts total (set varies by kit configuration) |
| Circle cutter | Cuts artwork circles to the correct diameter for smooth crimping | 1 cutter |
| Pin-back hardware (within parts) | Provides attachment to clothing/bags | Included within parts set |
| Clear protective film (within parts) | Helps protect printed artwork from scuffs and moisture | Included within parts set |
How the button-making process works
- Design: Create or choose artwork sized for a 3-inch face; keep important text inside a safe margin so it doesn’t wrap onto the edge.
- Print: Use a printer setting that preserves scale (avoid “fit to page” if it changes dimensions); let ink fully dry.
- Cut: Use the circle cutter to make clean circles; consistent cuts reduce wrinkles and edge buckling.
- Assemble layers: Stack artwork and protective film with the shell and backing as directed by the press setup.
- Press and crimp: Complete the press cycle in the proper order to lock the layers into a tight, smooth rim.
- Quality check: Confirm the pin moves freely, the edges are fully crimped, and the artwork sits centered.
If you’re producing a batch, it usually goes faster to print and cut everything first, then run the press continuously. Keeping parts staged in small trays (shells in one, backs in another) reduces mix-ups and helps maintain a steady rhythm.
Design and printing tips for cleaner 3-inch buttons
- Go bold: Use high-contrast colors and thicker fonts. Three-inch buttons read well when the message is simple and the type isn’t overly thin.
- Avoid edge-hugging borders: Thin circles or frames placed right at the trim can look uneven if the design shifts slightly during pressing.
- Add bleed: Extend backgrounds beyond the cut line so you don’t end up with a white “halo” at the edge after crimping.
- Choose reliable paper: Use paper that feeds consistently and stays flat; test a few sheets before printing a large run.
- Test photo tweaks: If images print dull, bump brightness/contrast slightly and test-print one circle before committing to a full page.
Circle cutter basics: speed, accuracy, and safety
A circle cutter is one of the easiest ways to improve consistency—especially for group projects. Cleaner circles generally mean fewer wrinkles and more uniform edges after the crimp.
- Cut on a proper cutting mat to protect surfaces and keep the blade stable.
- Apply even downward pressure and rotate smoothly to avoid jagged edges.
- Replace or adjust the blade if cuts start tearing paper rather than slicing cleanly.
- Keep fingers clear of the cutting path and store the cutter safely when not in use.
- For group settings (clubs/classrooms), designate an adult to handle cutting or supervise closely.
For general tool-safety practices, review OSHA’s guidance on safe tool handling: OSHA – Hand and Power Tools. If young helpers are involved, it’s also smart to be mindful of small components; see: CPSC – Choking Hazard and Small Parts.
Maintenance and troubleshooting for consistent results
Project ideas that work especially well at 3 inches
Shop in-stock picks
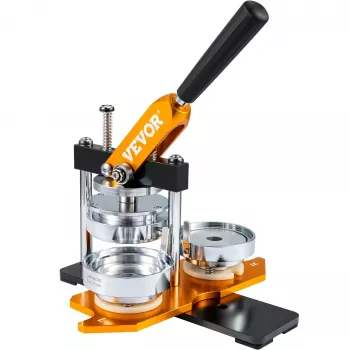
- 3-Inch Button Maker Kit with 500 Parts & Circle Cutter — a complete setup for large-format 3-inch pin-back buttons with a circle cutter for faster prep.
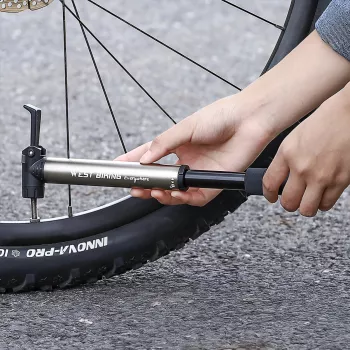
- 80 PSI Portable Bike Pump with Dual Valve & Tool Kit — a compact tool kit option for garages and on-the-go fixes.
- Carbon Fiber–Style Steering Wheel Cover with Honeycomb Anti-Slip Grip — an interior add-on designed to improve grip and comfort.
FAQ
What size artwork should be printed for a 3-inch button?
Use a 3-inch button template that includes bleed and a safe margin, then print at true scale (avoid settings that resize). Always run one test print and press a sample button before producing a full batch.
Why do my buttons come out wrinkled or off-center?
Wrinkles and misalignment usually come from uneven circle cuts, artwork not centered during loading, a missing protective film layer, or using the wrong press sequence. Re-check each step with one button at a time until the edge crimps smoothly and the design stays centered.
Are button parts interchangeable between different machines and sizes?
Not reliably—parts need to match the die size and the specific system your press is designed for. Mixing sizes or incompatible part sets can cause weak crimps, jam the press, or damage components.













Leave a comment